This gallery contains 3 photos.
Our first test ride with cases and bags fully loaded with our stuff on the bike.

This gallery contains 3 photos.
Our first test ride with cases and bags fully loaded with our stuff on the bike.
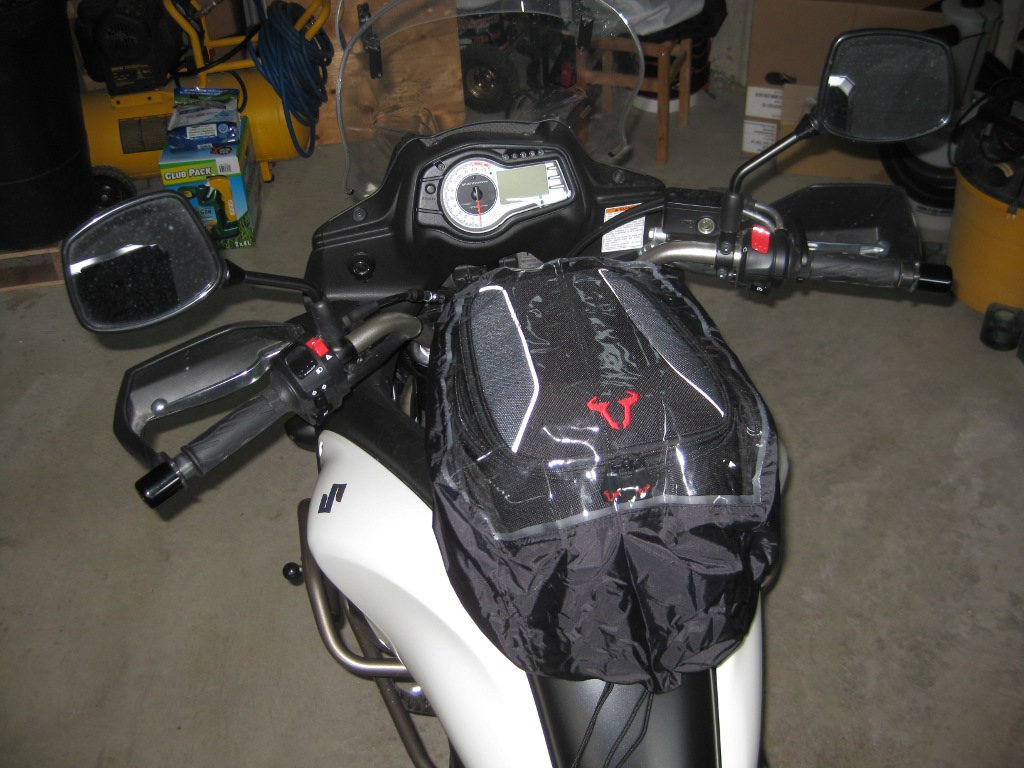
I searched a lot to see what other people are using as tank bag on the new VStrom 650 2012. I liked the Bags Connection products as they seem solid and well built. I wanted mid size bag, not too bulky and not too small. City bag seem to be a good size and it can expand as well, I didn’t get a chance to see or try Trial bag though.
The 3 hard cases that came with the bike, Canadian EXP model, are made by SW-Motech as well and I couldn’t be happier with anything else, so I was confident to go with SW-Motech for the tank bag as well.
I checked the catalog from sw-motech for their line of products for Suzuki, Download here, and the City tank-bag is not listed for DL650 2012! but Trial bag is, which was surprising as Trial bag is slightly bigger than City bag. However I saw on Stromtrooper.com that others have it and are happy with it so I decided to go with it anyway. I did a trip to A Vicious Cycle and picked up one.
I tried it on the bike and I have enough space when I turn the handle bar all the way to the side, so it’s a keeper. Now let’s install it on the bike.
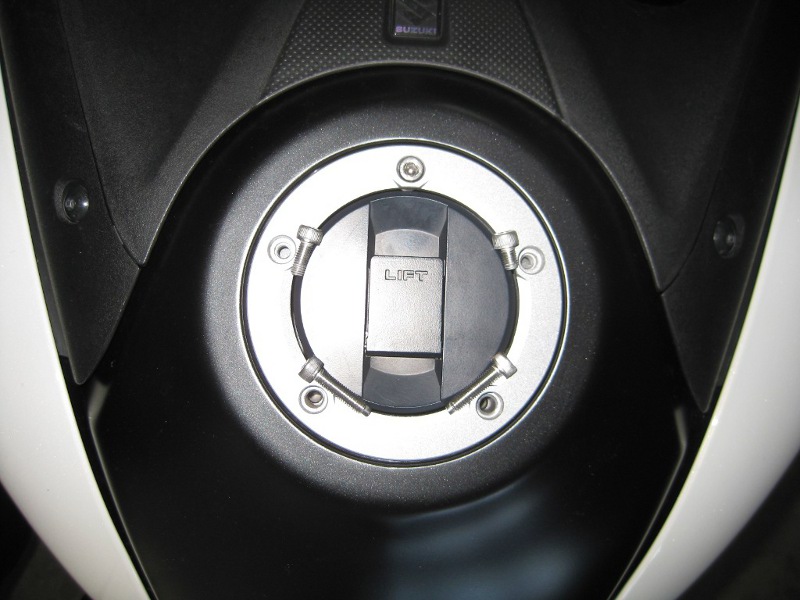
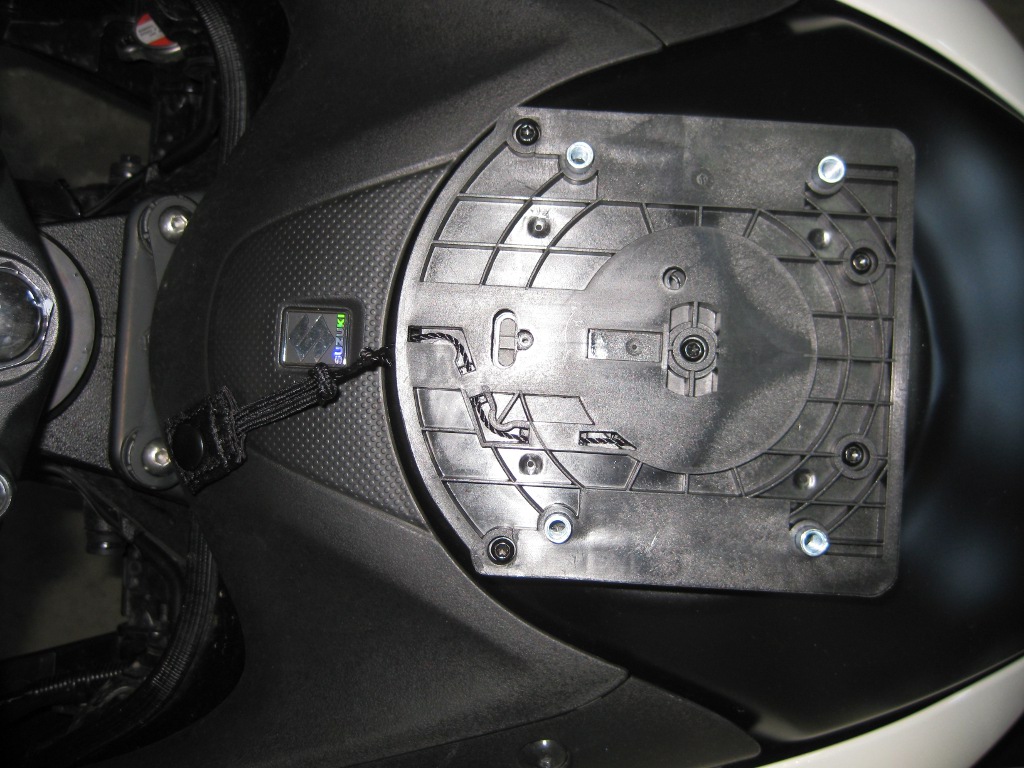
Remove the bottom 4 screws from the tang gas cap ring and leave the top screw in place.
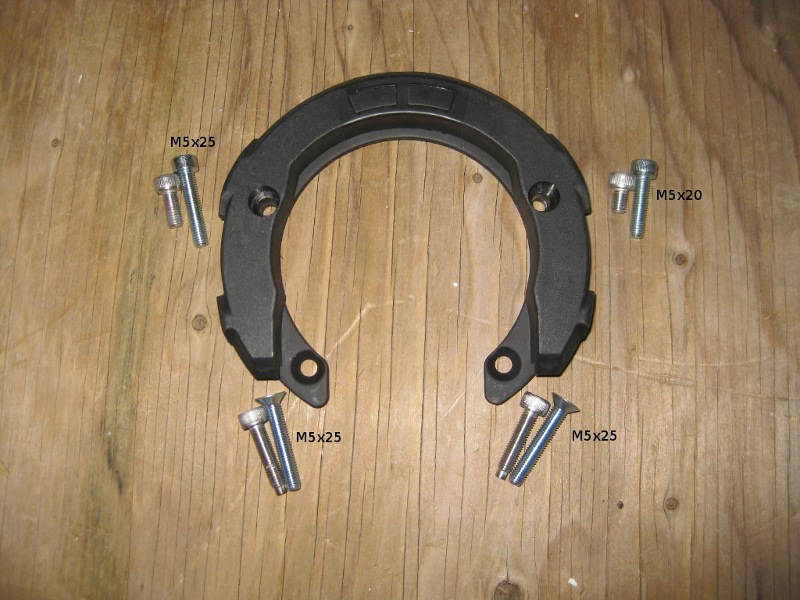
Find the correct size replacement screws from provided screws with the EVO tank ring. For DL650 2012 I had to use M5x20 socket screw for top right, M5x25 socket screw for top left and two M5x25 countersunk screws for the bottom two.
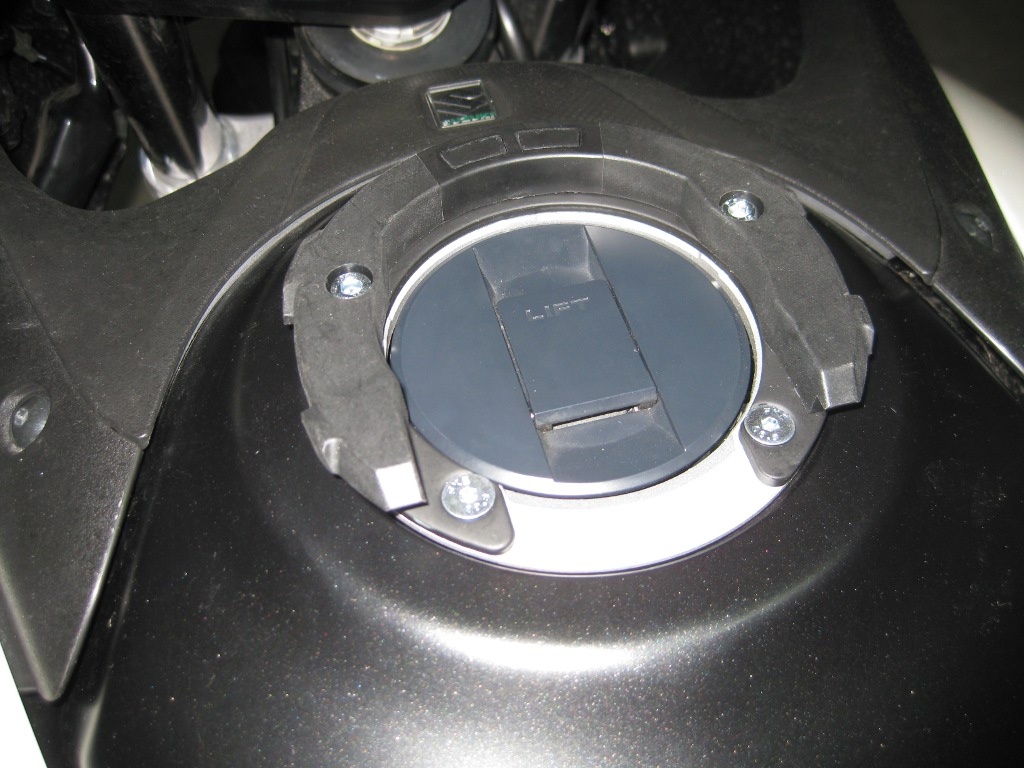
Install the EVO tank ring with the new screws and tighten to 5Nm torque as specified in the manual. But I don’t have torque screwdriver, so I hand tighten it!
Will check it again after about 50Km riding.
Temporarily put the top ring on the tank.
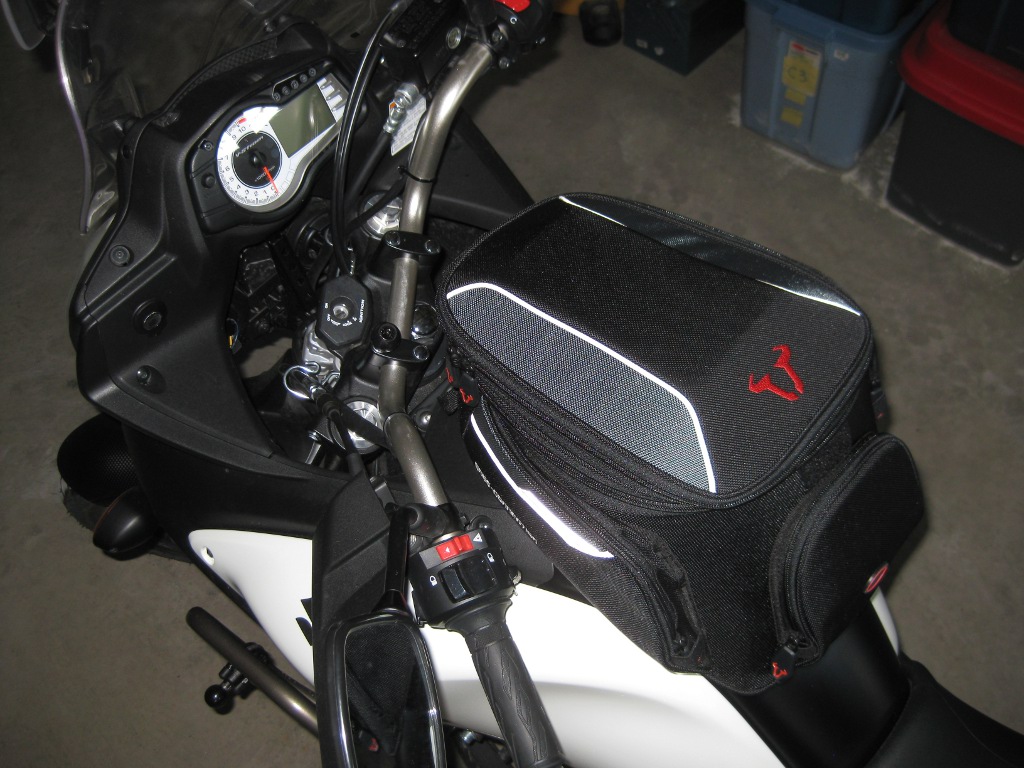
Put the bag on the top ring and move back and forward until you find the best position. for me it was to install the bag all the way back and away from the handle-bar to prevent interference with any accessories that I will mount on handle-bar in the future.

Tank bag all the way to the front

Tank bag all the way back
Now remove the tank bag with the top ring, you have to pull the release pin so both come out together. top ring will be tight under the tank bag so it will not move easily
Note the location of top ring, remove it and leave the drill template on the bag at the same spot.
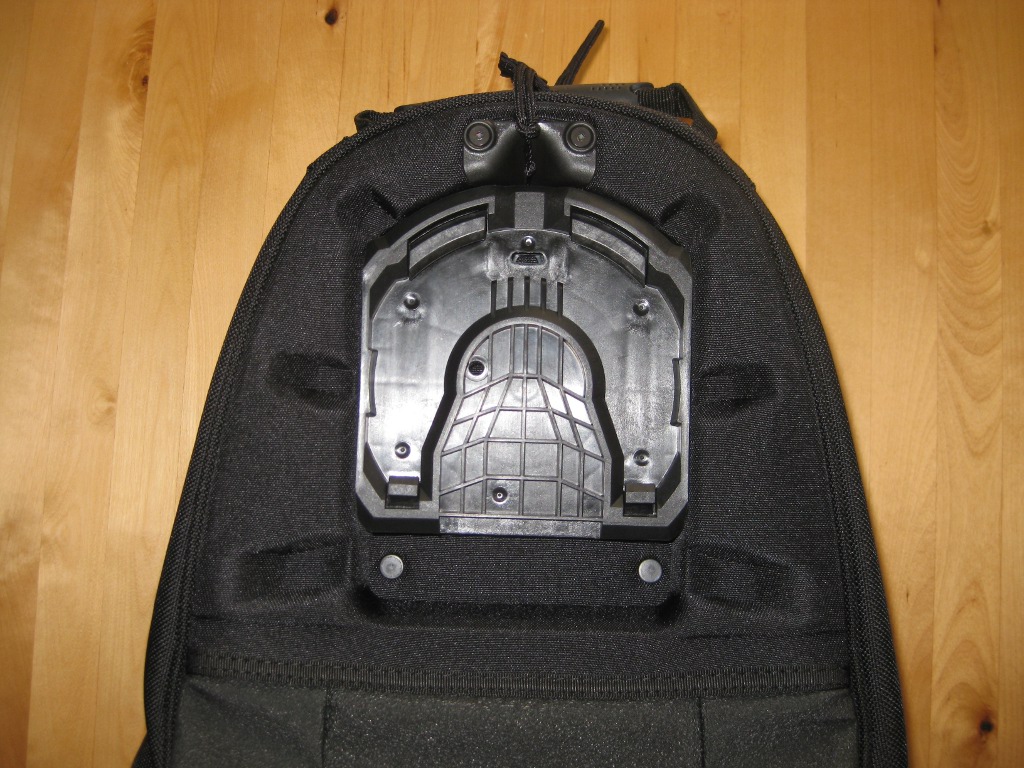
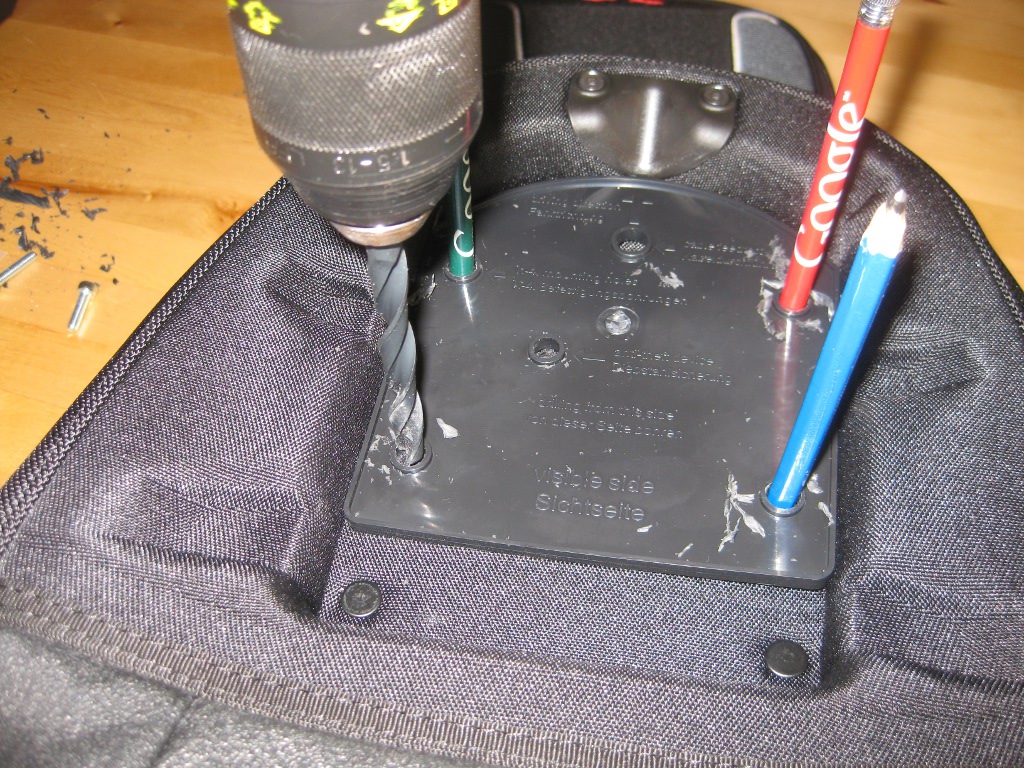
Make sure to open the cover of the base from the inside of the bag so you will not drill hole into it.
Support back of the base and drill hole with provided drill bit from outside of the bag. As you drill the holes, put something in the hole to keep the drill template from moving. I couldn’t secure the drill template to the bag and with drilling it is possible that drill template moves and holes will become off from each other. If you are planning to use the anti-theft feature, make an additional hole for it as well.
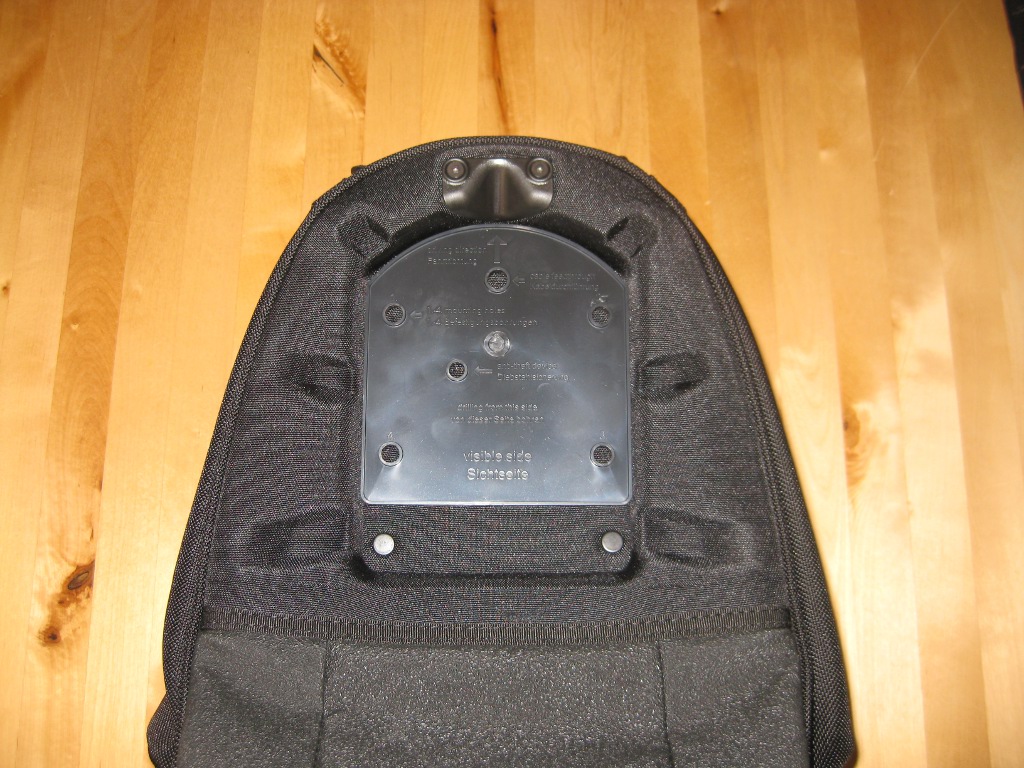
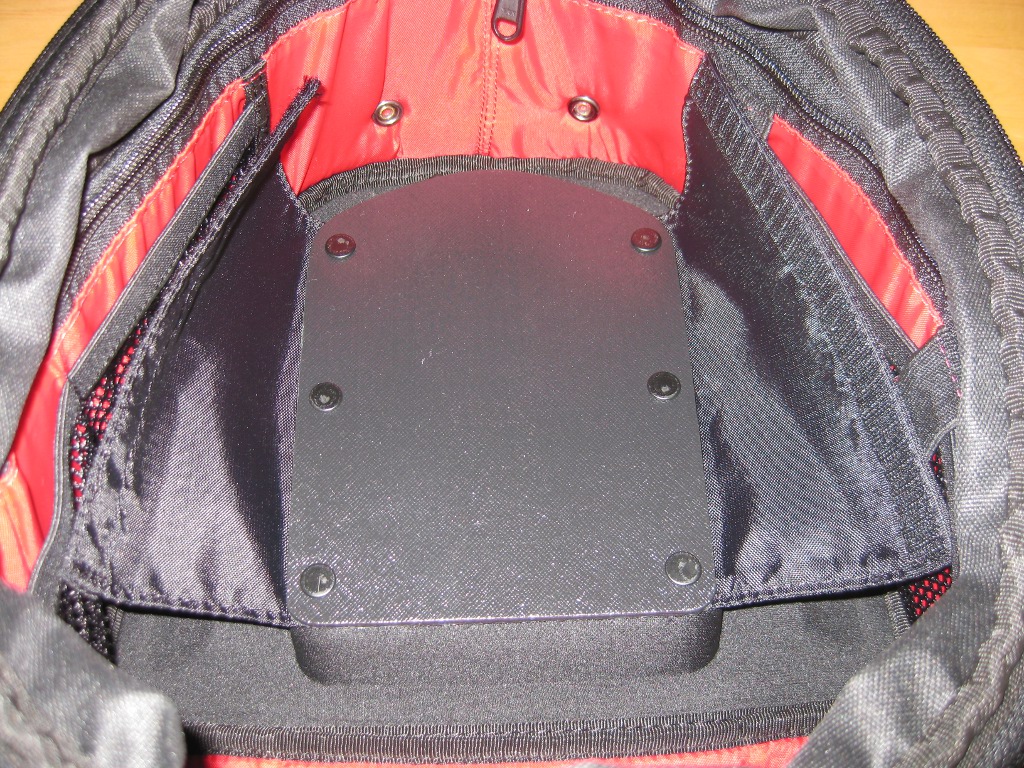
Remove the drill template and put the top ring back in its place and push it until you see the threaded hole from the other side, put the screw and secure it in its place.
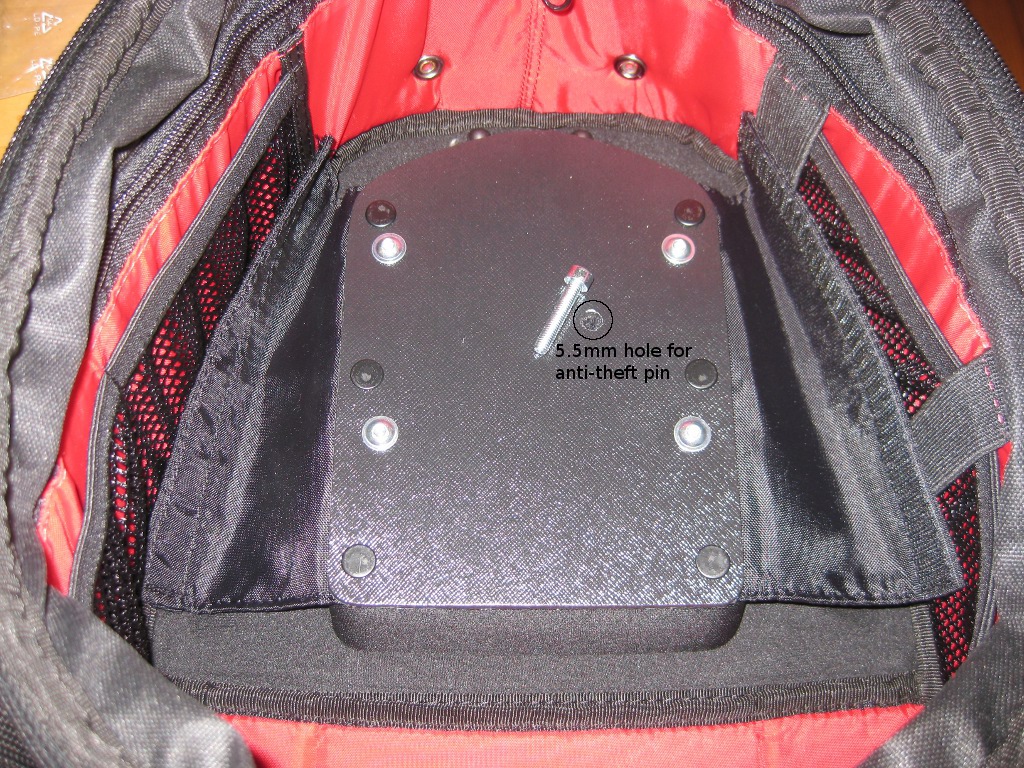
I will just use one of the spare screws that came with the package as anti-theft pin and will lock the zipper of the bag itself with a small lock. It works fine for me. You can use anything with the same shape and size and with a thread secure it somewhere in the bag so you will not loose it.
Now the tank bag is on the bike secure and solid.
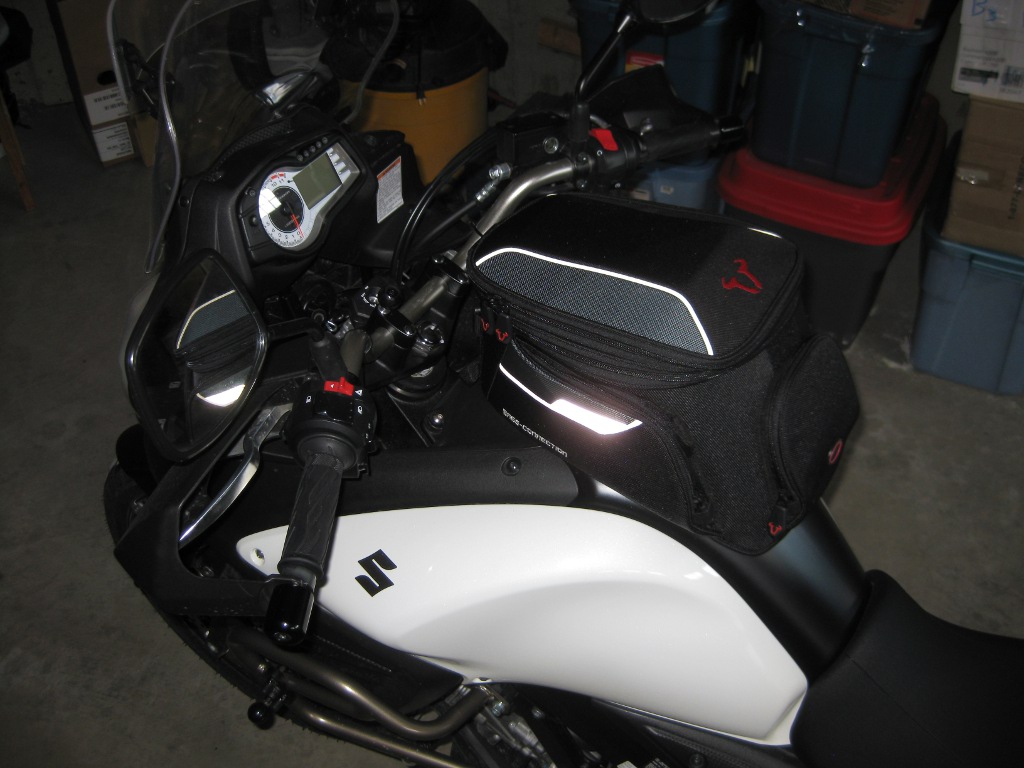
Handle bar turned all the way to the left to check for the clearance.
Tank bag with the rain cover on.